5 Tips on How Digital Printing Is Changing Building Materials

Time:2026-11-08 Author:Aria
0%

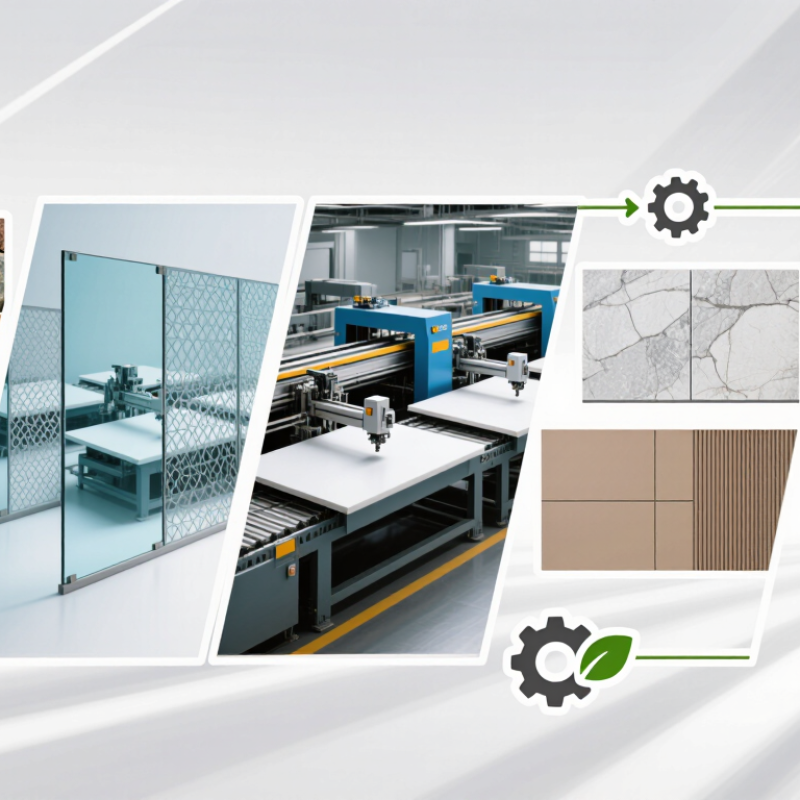
Digital printing is moving from graphics shops into factories that make tiles, glass, panels, and decorative surfaces. It can place detailed patterns directly onto prepared materials, including stone-like veining on porcelain or wood grain on fiber cement. The result is more design choice without relying on a separate printed film. That matters.

This guide explores how digital printing is changing the building materials industry through five practical considerations: design flexibility, production speed, material compatibility, quality control, and sustainability claims. A project team may preview a façade pattern on screen, adjust its scale, then print a small batch for approval. Yet a convincing image is not proof of lasting performance. Substrates need careful preparation, and inks or coatings must suit the intended exposure, cleaning routine, and installation conditions. Details matter.

For manufacturers, architects, and buyers, the useful question is not simply whether a surface can be printed. It is whether the finish remains consistent across batches, tolerates real-world use, and fits the project budget. Digital workflows can reduce the need for custom screens and make short runs more practical, but they do not eliminate setup, testing, or waste. Some benefits are material- and process-dependent. Ask suppliers for technical data and representative test results, not only a showroom sample. A tile seen under warm lights can look different beside a window at noon. A little skepticism helps. The tips ahead explain what to ask before specifying digitally printed materials, and where attractive samples may still leave unanswered questions.
5 Tips on How Digital Printing Is Changing Building Materials

Define the Substrate: Porcelain Tile Absorbs ≤0.5% Water (ISO 10545-3)

For digital decoration, the substrate is not just a blank canvas. ISO 10545-3:2018 measures tile water absorption; ISO 13006:2018 places dry-pressed BIa porcelain at 0.5% or less. That is a classification limit, not a promise that every tile behaves identically. A technician should check the actual test certificate, not rely on the word “porcelain” alone. Small differences matter.

On the line, low absorption can affect how an ink vehicle sits before firing. Check the surface, glaze, and print system together. A glossy tile may show crisp veining, while a dusty edge or uneven coating can leave a visible flaw. ISO results help screen materials, but they do not predict color match or image sharpness. Not a magic shield. Run a fired sample under the intended lighting, and inspect edges as well as the center. One awkward reality: a lab-compliant tile can still print poorly if the surface preparation or firing conditions drift. Do not skip the trial.

Set Print Specifications: Use 300-dpi Artwork and Calibrated Color Profiles

Digital printing can place detailed patterns on panels, tiles, and other building materials, but the file must be prepared for the actual print size. Set artwork to 300 dpi at final dimensions, not merely 300 dpi before enlarging a small image. A sharp screen preview can hide pixelation that appears across a large wall panel. Check fine lines and small labels at full size. They matter.

Color needs equal care. Calibrate the display and use a color profile suited to the printer, ink, and material. A warm-toned profile that looks right on a laptop may shift on a pale ceramic surface. Request a physical proof when color matching is important, and inspect it under lighting similar to the finished space. Profiles help, but they are not magic.

Material texture can change the result. A rough, porous surface may soften fine details or make colors appear less vivid than they do on a smooth sample. Test a representative piece before approving a full run. Keep notes on the file version, profile, and proof conditions; they make revisions easier. One imperfect step is easy to miss: reviewing only a digital mockup. A real sample can reveal problems the screen cannot.

Artwork Pixel Requirements at 300 PPI

Estimated image sizes for example building-material print formats. Pixel counts are calculated from each format’s dimensions at 300 pixels per inch.

At 300 PPI, a 24 × 48-inch panel requires 7,200 × 14,400 pixels (103.68 megapixels). Use the print provider’s calibrated color profile to help ensure colors reproduce consistently on the selected material.

Match Inks to Materials: Align Ceramic Inkjet Decoration with Firing Conditions

Match Inks to Materials: Align Ceramic Inkjet Decoration with Firing Conditions

Ceramic ink is not just color in a cartridge. Its pigments and mineral carriers must suit the body, glaze, and kiln curve. The European Commission’s 2007 Ceramic Manufacturing Industry BREF describes tile firing temperatures broadly around 1,000–1,300°C. That range makes “works on the printer” a poor acceptance test. A shade that looks right before firing may shift, blur, or disappear after the kiln.

Check the full firing profile, not only the peak temperature. Hold time, heating rate, glaze chemistry, and tile porosity can all affect color and edge definition. Test small coupons made from the actual production body and glaze. Fire them through the intended schedule, then inspect color, pinholes, and adhesion. The European Commission report also describes fast tile-firing cycles, often roughly 30–60 minutes; short cycles leave little room for incompatible materials to recover. Small trials matter.

It is easy to blame the printer. Sometimes the ink is wrong; sometimes the glaze or kiln variation is. Record the firing curve and compare samples from different kiln positions before changing the ink recipe. A simple log can prevent repeated adjustments based on one attractive sample. Even then, results may vary between batches. That is worth admitting.

Test Printed Surfaces: Apply ISO 10545-7 Abrasion Classes and ASTM C1026

Digital printing can place fine veining, stone textures, and repeated color patterns on ceramic tile. But a convincing image does not prove a durable surface. Test production samples made with the actual print, glaze, and firing conditions. ISO 10545-7 assigns glazed tiles abrasion classes from 1 to 5, based on visible wear after controlled abrasion. Higher classes indicate greater abrasion resistance, but they do not predict every floor’s service life.

A dragged chair can still leave a mark.

Check what the test measures. ISO 10545-7 assesses surface abrasion; ASTM C1026 evaluates resistance to freeze-thaw cycling. They answer different questions. Use abrasion results to compare printed glazes for expected foot traffic, and C1026 results when tiles may face freezing conditions. Neither test alone represents every installation detail.

The 2022 Global Status Report for Buildings and Construction, by UNEP and GlobalABC, reports that buildings accounted for 34% of global energy demand in 2021. Durable finishes can help avoid premature replacement, though lab results cannot guarantee that outcome.

A perfect test result is not a perfect floor. I would also inspect samples under oblique light: subtle print wear can be easy to miss in a bright showroom.

Measure Production Gains: Track m² per Hour, Changeover Time, and Material Yield

5 Tips on How Digital Printing Is Changing Building Materials

Digital printing lets manufacturers add patterns, colors, and product information directly to panels, tiles, and other building materials. The change is useful only when production improves without increasing waste. Track square meters per hour, changeover time, and material yield on the same shift report. Include setup and cleaning time, not just active printing. A fast printer can still lose hours between jobs. Small gains matter.

Tip: Measure m² per hour across complete production runs, including stoppages and reprints. Compare similar materials and designs; otherwise, the figures can mislead. Note the date, operator, and machine settings beside each result. A simple shift log works.

Tip: Time changeovers from the last good piece of one job to the first good piece of the next. Record color adjustments, file checks, and test prints separately. Then identify which step causes the delay. One awkward setup may distort the average, so keep the outlier visible rather than quietly removing it.

For material yield, compare usable printed area with material consumed. Count edge trims, misprints, and damaged sheets. A scratched panel may be rejected after printing, even when the print itself looks perfect. Review yield alongside output speed; chasing higher m² per hour can hide costly losses. These measures are imperfect, but consistent records reveal where a process needs closer attention.

FAQS

What does porcelain tile’s water absorption rating mean?

ISO 10545-3:2018 measures water absorption. Dry-pressed BIa porcelain is classified at 0.5% or less under ISO 13006:2018. Check the actual test certificate.

Does low water absorption guarantee a sharp printed image?

No. Surface, glaze, and print system all affect the result. Even compliant tile can print poorly if preparation or firing conditions drift.

How should printed tile samples be inspected?

Use samples made with the production print, glaze, and firing conditions. Check the center and edges under intended lighting. Oblique light may reveal subtle wear.

What do abrasion classes for glazed tile indicate?

ISO 10545-7 assigns classes from 1 to 5 based on visible wear after controlled abrasion. Higher classes indicate greater abrasion resistance, but not guaranteed service life.

How does freeze-thaw testing differ from abrasion testing?

ASTM C1026 evaluates resistance to freeze-thaw cycling. ISO 10545-7 measures surface abrasion. They answer different questions.

Which production metrics can reveal printing efficiency?

Track square meters per hour, changeover time, and material yield on the same shift report. Include stoppages, setup, cleaning, and reprints. A fast machine can still lose hours.

How should changeover time be measured?

Start with the last good piece from one job. Stop at the first good piece of the next. Record file checks, color adjustments, and test prints separately.

What should material yield include?

Compare usable printed area with material consumed. Count edge trims, misprints, and damaged sheets. A perfect-looking print on a scratched panel may still be rejected.

Conclusion

Digital printing is reshaping how designers and manufacturers decorate building materials, making it easier to create detailed patterns while adapting designs to different surfaces. Understanding how digital printing is changing the building materials industry starts with choosing the right substrate. For porcelain tile, water absorption of no more than 0.5% under ISO 10545-3 provides a useful specification. Print files should be prepared at 300 dpi, with calibrated color profiles to support consistent results across production runs.

Ink and process settings must suit the material and its firing conditions, especially for ceramic inkjet decoration. Printed surfaces should then be evaluated for durability, using relevant abrasion classes in ISO 10545-7 and freeze-thaw testing under ASTM C1026 where appropriate. Finally, manufacturers can assess practical benefits by tracking square meters produced per hour, changeover time, and material yield. Together, these steps connect visual quality with performance and production efficiency.

Aria

Aria

Aria is a dedicated marketing professional with a deep passion for innovative strategies and a keen understanding of our company's product offerings. With a wealth of experience in the industry, Aria excels at crafting engaging content that highlights the unique features and benefits of our......